
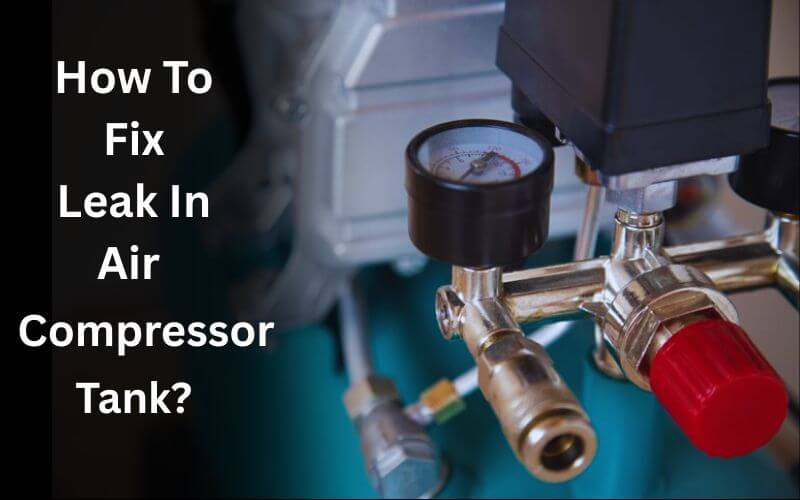
Air compressors are very handy in most of your projects. Many people have a compact compressor in their houses as a necessary tool for multiple DIY tasks. It is widely used in the commercial industry and auto shops. Over time, the compressor starts to do problems, primarily the leakage. Luckily, we’ve fixed several compressors recently that have tank leakage issues. That’s why we have prepared this guide so you can quickly fix this issue without extra cost.
Reason for the air compressor leakage
The leakage problem comes into notice when you fill the tank, but after some time, the pressure drops quickly and reaches 0 psi. Many people fill the tank, and when they see the tank pressure the next day, it falls to 0 psi, and all air has escaped from the leaks. So, there could be multiple possible reasons for air leakage.
But mainly, it is due to rust, which appears after long usage. The leakage could also be happened due to loose fitting or hose joints. Both have different methods to fix the leakage, which I have explained below.
Tools required for repair
To repair the faulty and leaked air compressor, you needed some tools which we are going to use. If you have these tools at home, then it’s good to go. If you don’t, you can borrow from someone or buy a new tool from a new hardware store. Here is the list
- Soapy water
- PTFE tape
- Wrench
- Brazing torch
- Brazing rod
- Angle grinder
- Protective gloves
- Protective glasses
Fix air leakage due to rust
It is recommended by the professional to drain all the air from the air compressor after usage. If you don’t do this, the air inside causes damage after a long time of use which eventually causes a leak in an air compressor. All the process of fixing these types of leaks is explained below.
Now, I’ll walk you through the entire procedure to fix the air compressor leakage to make it simple for you.
Step 1: Identify the Leak
If you already have tracked down the air compressor’s leakage point, that’s good, and you can skip this step. But if you haven’t discovered it, don’t worry; I will explain how you detect the leak.
Before starting the repair, you should have known what caused the leakage and where the point is. Turn on your air compressor and fill the tank. When the tank is filled, please turn it off, and spray the soapy water all over the tank.
Now, look for the presence of bubbles on the tank after adding soapy water. If you find any, this is the leakage point of your air compressor from where all the air is getting wasted. After finding the leak point, mark it, so you don’t get lost.
Step 2: Release the air from the compressor
I hope you successfully find out about the leaking area. Now let’s move on to our next step. Open the air valve of the air compressor and drain all the air from the air to make it empty.
Step 3: Safety at first
Safety should be your priority while performing these operations. Before moving to the next steps, you should wear protective gloves and glasses to avoid danger. You are shielded from the grinder and flaming rod by using these gears. That’s why it is highly highly recommended by us that you should not move on to the next step without wearing protective glasses and gloves.
Step 4: Grind the Leaking Area
As well discussed earlier, most of these leaks happen due to rust. The point you marked on the leakage area must have some rust, and we have made this area smooth enough for the fix.
Use the angle grinder on the leakage surface and run it over and over until it gets clean and smooth. The moment has come to secure the area once the rust has cleared.
Step 5: Use the Brazing Torch & Rod
Now, turn on the gas and use the lighter to bring life to the torch, which eventually lights up the brazing torch. Now, apply the heat to the leaking area until it gets hot.
Take the brazing rod and place it on the leakage area to rebuild the site. With the help of a torch, you can melt down the brass rod and wait until it properly sticks on the spot. Do not end here; keep the torch on the rod, wait for it to melt, and cover all areas thoroughly.
Wait for it to cool down after we have finished applying our remedy. When the air compressor gets cold, you can turn it on and recharge it to check whether the fix has been done. If not, repeat the process.
Fix joints leak in the air compressor
If you drain all the air from the compressor after every use, you are doing a good job, but if the air is still leaking from the compressor, there might be an issue with the hose joints and fitting. Fitting could be loosened up after some time, which may cause problems now, and you can fix it quickly. Just follow the below steps for the fix.
Step-by-step guide
- Use soapy water to detect the leakage point.
- If the leakage comes from joints, tighten up all the joints and fittings.
- Replace the hose or valve with a new one if they are damaged.
- Release the pressure from the valve nut by using a wrench.
- Use the PTFE tape and cover all the surroundings of the new valve.
- Spray the soapy water to check whether the fix has been done; if not, repeat the process.
Final words
Leakage of the air compressor is not a good thing, and you should repair it as soon as possible. We have explained all methods for all types of leakage if you follow all the steps.
FAQ
Can we weld a leak in an air compressor tank?
We highly suggest you not weld the leakage area as it is a very risky option and can blast the air compressor in the future. If your air compressor is badly damaged, we recommend you buy a new one.
Can we fix the badly rusted air compressor?
Many times, rusting areas can be fixed in air compressors. But it’s probably not the best option if your compressor is badly rusted because there is a possibility that you cannot fix all the leakage points.